Source-backed guide · Updated 2026-08-16
Pathogenic Builds: 3 Frameworks for a Full Run
Compare 3 current Pathogenic builds—Homing Projectile, Dash-Detonation and Minion Network—and adapt one from Skin to Brain.
Published by Pathogenic Game Wiki Editorial Team · Updated 2026-08-16
Quick answer
There is no universal best Pathogenic build. Recent full-run examples repeatedly use three useful engines: a homing projectile chain, a Ballistic Flagellum dash-detonation chain and a minion network. Pick one job, keep its connection arrows valid, reserve slots for movement or defense and add a direct Brain answer before you call the run complete. The framework matters more than copying one video’s exact rarity roll.
Key facts
- Current version boundary
- Official August 7, 2026 balance update
- What this guide helps you do
- Choose and adapt a build engine through a full run
- What it is not
- A universal tier list or room-by-room walkthrough
- Final validation
- Brain-ready single-target damage plus defense and field control
Choose the build engine before you chase parts
Use the interaction you can assemble from the current run. The names below describe a job and a failure boundary, not a permanent ranking.
| Framework | Core interaction | Add next | Main failure |
|---|---|---|---|
| Homing Projectile | Projectile weapon + Attractor | One coverage layer such as piercing, split, splash, shrapnel or bounce | Non-projectile beams or zones do not automatically become homing |
| Dash-Detonation | Ballistic Flagellum + Sympathetic Detonator | Stamina/recovery, targeting and a safe boss spacing plan | Running out of stamina or entering a boss without a ranged fallback |
| Minion Network | Mitotic Nidus + Sentry Nidus/Swarm Nidus | Symbiotic Pseudopod, power and one direct player-controlled attack | Minions cannot finish a single-target phase reliably on their own |
Before you start
- Choose one job for the run: projectile coverage, dash detonation or minion pressure.
- Build around a valid chain, not a pile of nearby Organelles; follow the visible arrows and current tooltips.
- Keep a movement or defensive answer before adding a second damage package.
- Use the region notes below to change priorities as rooms become less forgiving.
- Before the Brain, confirm sustained single-target damage, repeatable power and a way to survive field control.
- Treat videos and other players’ loadouts as routes to test, not guaranteed outcomes.
What “a build” means in Pathogenic
A build is a working interaction, not a shopping list. The useful question is whether the Organelles form a valid chain, produce one repeatable job and leave enough room for the hazards in the next region. Many players run into the same trap: adding more weapons looks productive while the Infuser or power chain that makes the damage scale is missing.
The August 7 balance update changed Overcharge Strength bonuses to additive stacking and adjusted several Organelles. Old screenshots and exact damage claims can therefore mislead you. Use the framework table to choose what to test, then read the tooltip in your installed version for the value and trigger.
Four rules that keep a framework alive
- Give the run one main job. A projectile, dash, minion or damage-over-time engine can be supported by a second effect, but two unfinished engines usually leave both weak.
- Follow the arrows. Physical proximity is not proof of a connection, and an inactive Mitochondrion still produces nothing until its own trigger occurs.
- Protect the run before you chase a higher number. Movement, dodge uptime, health, Armor or a field-control answer are part of the build when the next region punishes standing still.
- Keep one answer for a single target. Room clear and Brain damage are different tests; a kill-trigger loop or pure crowd-control engine can stall when only one boss remains.
Framework 1: Homing Projectile
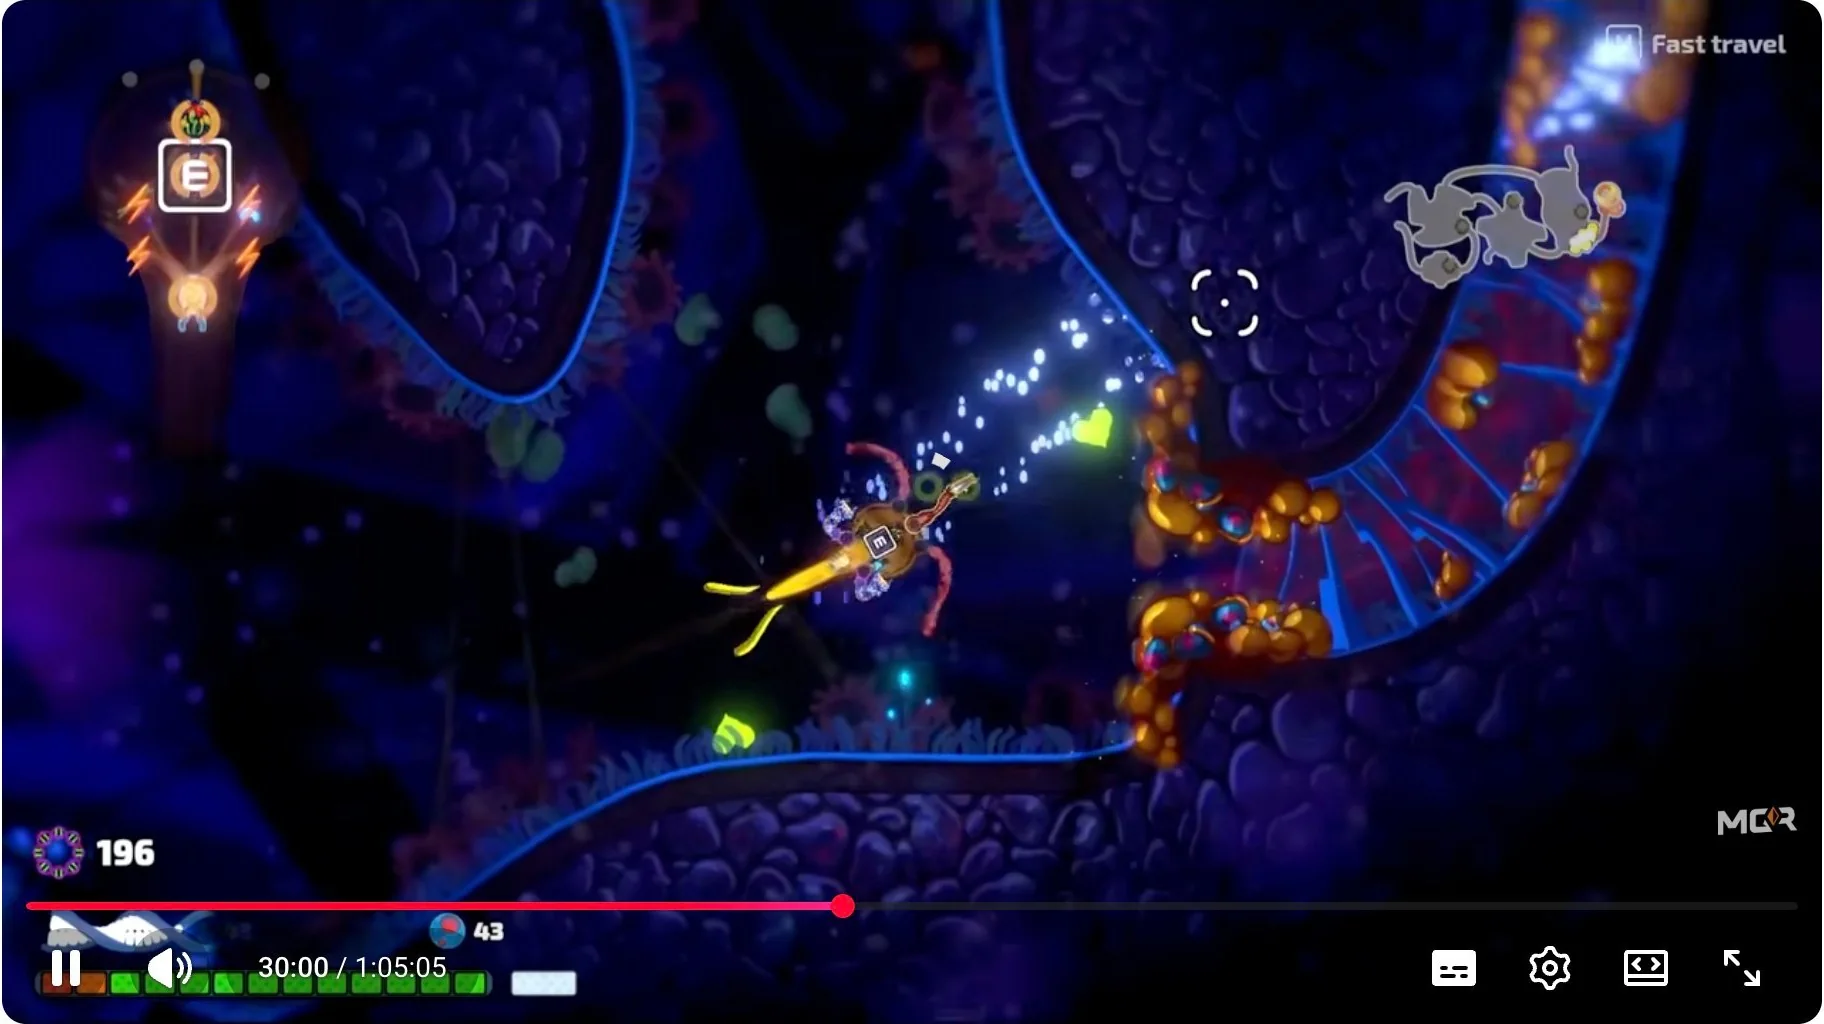
Choose this when you want to spend less time lining up shots. Start with a projectile weapon plus Attractor, followed by one coverage layer such as piercing, split, splash, shrapnel or bounce. The coverage part turns a single target into room control; do not add every modifier just because it is available.
The common failure is a dead link. A laser beam, persistent zone or internal attack does not automatically become a homing projectile. Check the current tooltip and the arrow path before committing the rest of the body to a build that only looks connected.
- 1.Secure one projectile source and Attractor before stacking coverage modifiers.
- 2.Add one coverage layer, then test whether the attack actually reaches more targets in the next combat room.
- 3.Use spare capacity for movement, defense and a boss-safe single-target answer rather than a second unrelated weapon.
- 4.Before Brain, confirm that the projectile still reaches the boss reliably instead of only clearing trash around it.
Framework 2: Dash-Detonation
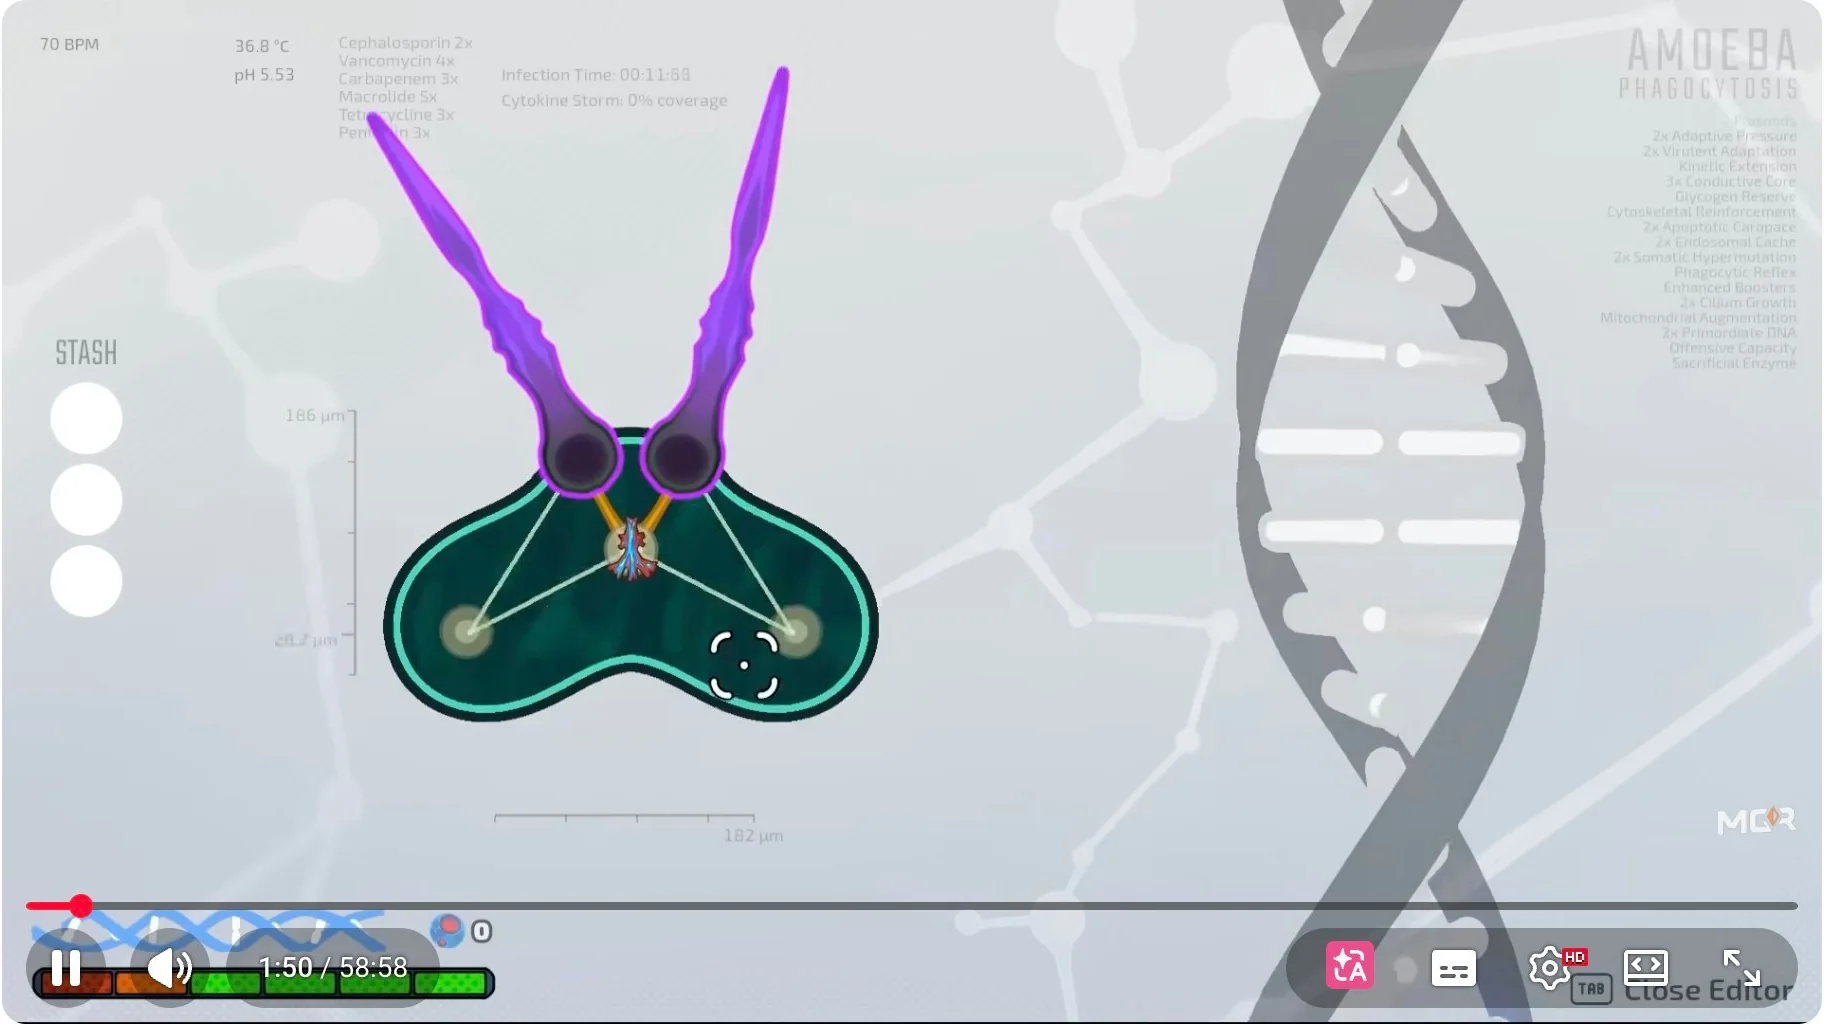
Choose this when you are comfortable treating movement as part of the attack. The framework pairs Ballistic Flagellum with Sympathetic Detonator, then spends the next choices on stamina capacity or recovery, targeting and a way to keep a safe distance when the room or boss makes contact dangerous.
This engine fails when the dash is the only way to deal damage and the player spends all stamina entering a fight. Keep a repeatable fallback or reserve enough stamina to leave the detonation zone. A build that clears a montage clip is not automatically a build that can repeat the Brain boss while moving through its field control.
- 1.Connect Ballistic Flagellum to Sympathetic Detonator and verify that the detonation occurs on the current tooltip’s trigger.
- 2.Test the loop in a normal room while preserving one dodge or escape instead of spending every charge on damage.
- 3.Add automatic targeting, homing support or a direct attack only when it solves a visible gap in coverage.
- 4.At Heart and Brain, circle at a safe radius and keep a line of damage that still works while moving away.
Framework 3: Minion Network
Choose this when you want damage to keep occupying the room while you move. Start with Mitotic Nidus, then add Sentry Nidus, Swarm Nidus and/or Symbiotic Pseudopod so the summons form a network rather than a single fragile source. The August 7 patch also changed Sentry Nidus and Swarm Nidus, so use the current rarity and tooltip instead of an older tier list.
Minions are strongest when they buy you time to reposition, not when they are the only plan for every boss phase. Keep one direct player-controlled attack or a reliable power loop for a single target, and do not spend every slot on summons before you have movement and defense.
- 1.Start with Mitotic Nidus and add one summon that remains useful when the room spreads out.
- 2.Add Sentry Nidus, Swarm Nidus or Symbiotic Pseudopod only when the extra role is clear: coverage, pressure, support or sustain.
- 3.Use your own movement to gather value from the network; do not stand still waiting for every summon to finish the room.
- 4.Before Brain, test direct single-target damage in a boss room and keep an active defense or field-control answer.

When the run offers no clean framework: use the Infuser-first rule
Some runs do not offer the exact pieces above. The player reports that most consistently agree on a fallback: protect a strong Infuser chain and one attack that can actually use it before collecting unrelated weapons. A smaller build with a live chain is easier to test than a large body full of disconnected effects.
This is not a fourth universal build. It is a triage rule for the reward screen. Keep a piece when it improves the job you already have, creates a valid arrow or solves a known failure. Reroll or replace it when it only adds another icon without changing room damage, coverage, uptime or survivability.
- One attack with a live chain is a better baseline than three attacks with no power path.
- A defensive or movement part can be the correct damage choice when it lets the core attack stay active.
- Use the expanded tooltip and Last Room Damage after changing one variable; do not judge from one rounded hit marker.
How to adapt the same framework through a full run
The regions are not separate build metas. They are stress tests for the same engine. The adjustment below tells you what to inspect as the run moves from Skin to Heart and then Brain; it does not pretend to predict every room or reward roll.
- Skin — establish the core interaction and confirm that the arrows, trigger and main attack work before taking luxury modifiers.
- Intestine — keep movement and route control visible. Slow hazards make a build with high paper damage but no escape feel worse than its tooltip suggests.
- Stomach — add a way to clear pressure without standing in the same lane. This is the point to remove a disconnected weapon rather than carrying it forward.
- Liver — enemy mixtures punish a single narrow answer. Keep the framework’s main job, then add coverage or sustain only where the current rooms expose a gap.
- Lung — treat airflow and movement as a build requirement. If you repeatedly die here, diagnose positioning, dodge uptime and projectile coverage before adding raw damage.
- Heart — save a repeatable boss loop and a defensive answer. The August 2 and August 7 updates changed late-game rooms and Heart balance, so old exact routes are especially risky.
- Brain — validate sustained single-target damage, repeatable power, movement/defense and field control. A room-clear engine is not finished until it can do all four jobs.
Why a promising build collapses
- The parts touch but no arrow reaches the target: rebuild the chain instead of adding another weapon.
- The target charges only after a kill, but the next boss has no spare targets: add a non-kill-trigger source or a direct attack.
- The run clears rooms but loses all health in transit: replace one damage slot with movement, dodge, Armor or recovery support.
- The projectile engine misses while the room spreads: add one coverage layer or targeting aid; do not call the weapon weak before fixing coverage.
- The minion network looks strong in crowds but stalls on a boss: preserve direct single-target damage for the boss phase.
- The new patch changed the result: compare the current tooltip and Last Room Damage, not an older video’s numbers.
How to verify a build without copying a video
Write down the framework’s job, the current receiving tooltip and the one failure you are trying to fix. Clear a comparable ordinary room, change one Organelle or connection, then compare activation, coverage, survivability and Last Room Damage. This will not remove roguelike randomness, but it prevents a single lucky room from becoming a false rule.
The optional videos below show real full-run examples with different Pathogens and weapon packages. Use them to see what a finished interaction looks like and where it is tested. Do not expect the exact rarity order, damage number or “broken” title to reproduce on your save.
The screenshots are limited excerpts from the linked videos and are included to make the written summary scannable. They are not a claim that the exact loadout or result is guaranteed on every seed. If you own an image and want it corrected or removed, contact support@pathogenicgamewiki.com.
Frequently asked questions
What is the best Pathogenic build right now?
There is no single best build that survives every Pathogen, rarity roll and patch. Recent full-run examples repeatedly use homing projectile, dash-detonation and minion-network frameworks. Choose the one whose core chain you can actually connect, then keep movement, defense and a Brain-safe single-target answer.
Why do I keep dying in the Lungs with a high-damage build?
Lung rooms expose movement, airflow and coverage gaps. Before adding another damage piece, check whether you can keep moving, dodge through pressure and reach enemies spread across the room. A disconnected weapon will not repair a positioning or chain problem.
Do I need several weapons for a strong Pathogenic build?
No. Player reports commonly favor one reliable attack with a live Infuser or power chain over several disconnected weapons. Add a second attack only when it solves a specific coverage, boss or survivability problem.
Can a minion build beat the Brain?
Recent full-run examples reach the Brain with minion-focused setups, but minions should not be your only single-target plan. Keep direct damage, repeatable power and a defensive or field-control answer for the boss phase.
Is a full-run build the same as a region walkthrough?
No. This guide explains how to choose and adapt a build engine from Skin through Brain. It does not list every room or route; use the Body Regions hub and Brain route guide for navigation and secret-path details.