Source-backed guide · Updated 2026-07-19
Pathogenic Overcharge Guide: How Mitochondria Stack and Damage Math Works
Learn how Overcharge works in Pathogenic, whether multiple Mitochondria stack, how Overcharge Strength changes effects and how to test real damage.
Published by Pathogenic Game Wiki Editorial Team · Updated 2026-07-19
Quick answer
Overcharge in Pathogenic is power generated by Mitochondria and passed through valid chain connections to compatible Organelles. Developer replies confirm that Overcharge stacks, and that extra Overcharge or Overcharge Strength can make an effect charge faster. A second Mitochondrion does not guarantee a simple 2x final-damage result: read the receiving effect, verify the connection arrows and compare Last Room Damage in the expanded tooltip.
Key facts
- Does Overcharge stack?
- Yes, confirmed by a developer reply
- Do Mitochondria stack?
- They can contribute additional Overcharge when the chain and triggers are valid
- Strength example
- +100% Overcharge effect in a +40% Strength slot becomes +140%
- Number display
- Damage can use decimals while on-screen numbers are rounded
- Best verification tool
- Expanded tooltip → hold Ctrl → Last Room Damage
- Verified for
- Pathogenic 1.0 information checked July 19, 2026
Before you start
- Use the current in-game tooltip as the final authority after a balance patch.
- Choose an Organelle whose tooltip explicitly describes an Overcharge effect.
- Keep at least one Mitochondrion and enough connected slots to build a valid chain.
- Test changes over comparable combat rooms instead of relying on one floating damage number.
- Expand the Organelle details and hold Ctrl to inspect its previous-room damage.
What Overcharge means in Pathogenic
Overcharge is not a universal damage stat that automatically buffs the entire cell. It is a power state produced by Mitochondria and used by compatible effects elsewhere in a valid Organelle chain. The receiving tooltip tells you what the charged state actually does: it may increase damage, improve another property or enable a utility effect. That is why two builds can both say “Overcharge” while producing very different results.
Think of the Mitochondrion as the power source and the connected Organelle as the device using that power. The editor's arrows show whether the signal reaches its target. A strong Mitochondrion placed beside an Organelle does nothing for that target when the chain direction is wrong or no valid connection exists.
This distinction also explains why copying only the shape of another player's build can fail. The visible layout is less important than the trigger on the Mitochondrion, the direction of the chain and the exact effect written on the receiving Organelle.

Step 1: read the effect that will receive Overcharge
Start with the target, not the Mitochondrion. Expand the Organelle that you want to improve and find the line describing its Overcharge behavior. That line is the promise your chain can activate. It is safer than treating every lightning icon as “more damage,” because Overcharge effects differ between Organelles and may change with rarity or balance updates.
Record the current value before moving anything. Some effects use a plus sign, others display an x multiplier, and some describe a timing or utility change rather than direct damage. Those symbols are not interchangeable; they determine how the value combines with other bonuses.
Step 2: connect a Mitochondrion and follow the arrows
Place a Mitochondrion where the editor creates a valid chain toward the target effect. Pathogenic has improved its connection display over time, but the rule is stable: follow the visible arrows and expanded tooltips. Do not infer a connection from two Organelles merely touching or sitting on the same body segment.
Mitochondria also have their own triggers. One may respond to entering a room, movement, nearby enemies or another gameplay condition. A perfect connection cannot produce Overcharge until that trigger is met. Read the installed Mitochondrion rather than borrowing a trigger from a different orange Organelle.
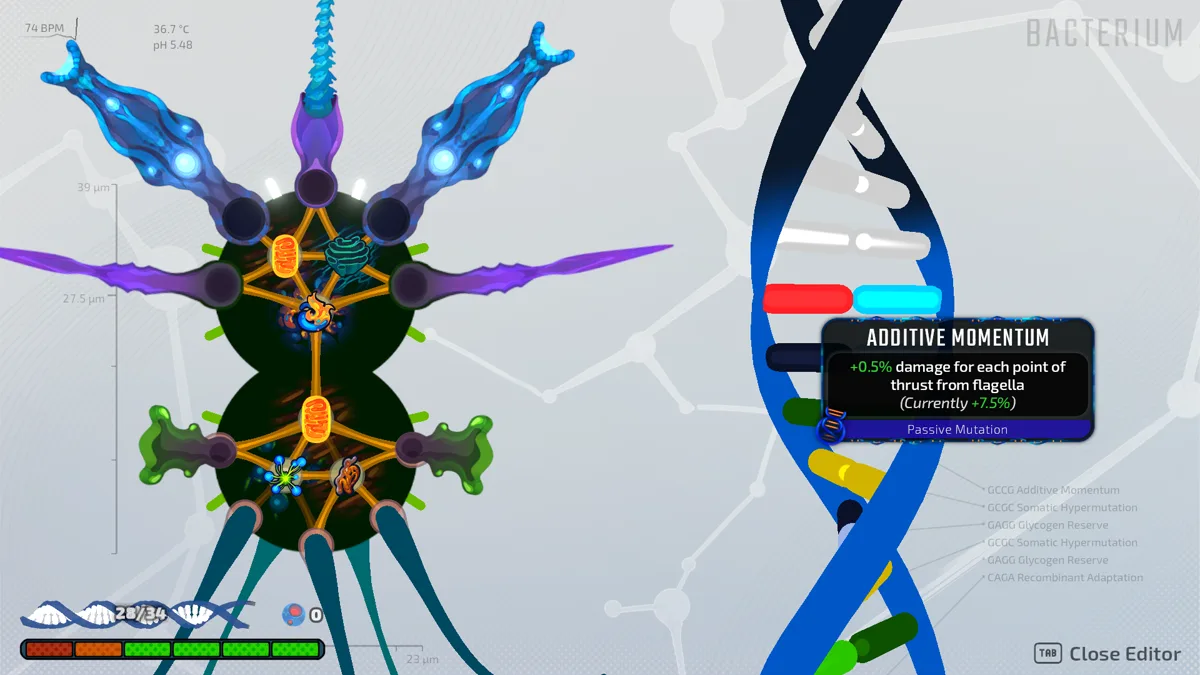

Do multiple Mitochondria stack in Pathogenic?
Yes. In a July 18 developer reply, the developer confirmed that Overcharge can stack. The same reply says additional Overcharge or Overcharge Strength makes the charging process faster. This is the strongest available answer to the player question “do multiple Mitochondria stack?”
The important limit is what “stack” does not promise. Adding a second Mitochondrion is not a guaranteed 2x final-damage button. Both power sources still need valid connections and their own triggers, while the receiving Organelle decides what the accumulated charge changes. One build may reach its effect sooner; another may hold more charge or strengthen an Overcharge-specific value.
Judge the second Mitochondrion by the problem it solves. Keep it when the effect activates sooner, remains active more reliably or produces a measurable improvement. Replace it when both parts compete for valuable slots but the receiving effect or room results barely change.
How Overcharge Strength changes an effect
The developer provided a concrete example. Suppose an Organelle gains +100% damage while Overcharged. If the relevant setup also supplies +40% Overcharge Strength, the Overcharge effect becomes +140%. The extra 40 points strengthen the listed Overcharge bonus; the example does not turn the total into an assumed 2.4x multiplier.
The developer also explained that putting a Mitochondrion into a slot with Overcharge Strength can affect the connected target. This makes slot placement part of the calculation. Moving the same Mitochondrion between two slots can therefore change the result even when the visible chain still looks connected.
- Listed Overcharge effect: +100% damage.
- Relevant Overcharge Strength: +40%.
- Developer example result: the Overcharge effect becomes +140%.
- Do not convert a + value into an x multiplier unless the current tooltip actually shows x.
What + and x mean in Pathogenic damage calculations
Developer guidance separates the two symbols. Bonuses marked with + are added together. Values marked with x are multiplicative. This matters because a build with several large-looking additive bonuses can grow differently from one that introduces a true multiplier.
Damage itself can contain decimal values even though the floating numbers shown during combat are rounded. A one-point visual change is therefore weak evidence for or against a setup. The underlying value may have changed without producing an obvious difference in every hit marker.
Avoid inventing a complete universal damage equation from one example. Weapons, Infusers, conditional effects, rarity and enemy defenses can add their own steps. Use + versus x as the combination rule confirmed by the developer, then use the current tooltip and room data for the rest.
How to test whether an Overcharge setup is actually better
Pathogenic provides a better test than watching one critical hit. Expand the relevant Organelle details and hold Ctrl to view Last Room Damage. The developer specifically pointed players to this value when explaining effect calculations. It gives you a practical record of what that part contributed in the previous room.
Use a one-variable test. Clear a normal combat room with one Mitochondrion and record the result. Add a second Mitochondrion, or move the first into a Strength slot, then clear a room with roughly similar enemy density. The rooms will not be laboratory-identical, but changing only one part makes the comparison far more useful than rebuilding the whole cell at once.
- 1.Record the target Organelle, its Overcharge text and its current slot.
- 2.Clear one ordinary combat room and save the Last Room Damage value.
- 3.Change exactly one variable: connection, Mitochondrion count or Strength slot.
- 4.Trigger Overcharge in a comparable room and record the new value.
- 5.Keep the change only when activation reliability or measured contribution improves enough to justify the slot.
A reproducible starter experiment
The safest first experiment is intentionally small. Choose one Organelle with a clearly written Overcharge benefit, connect one Mitochondrion and learn its trigger. Confirm that the target charges before adding any other source. This establishes a working baseline and exposes a broken arrow or unmet trigger immediately.
Next, move the same Mitochondrion into a slot with Overcharge Strength and check whether the target tooltip changes. Finally, return to the original slot and add a second valid Mitochondrion. Compare charge time, uptime and Last Room Damage separately. This sequence answers three different questions instead of hiding them inside one large build change.
Why your Mitochondrion is not generating Overcharge
- No arrow reaches the target: rearrange the chain instead of relying on proximity.
- The arrow points the wrong way: the target is not receiving the Mitochondrion's output.
- The trigger has not occurred: read the exact condition on that Mitochondrion and reproduce it.
- The target has no compatible Overcharge effect: choose an Organelle whose tooltip explicitly uses Overcharge.
- The effect charges but appears weak: compare the expanded tooltip and Last Room Damage, not rounded floating numbers alone.
- An older guide names “Attack Modifiers”: current Pathogenic terminology uses “Attack Infusers.”
- A patch changed a value: trust the installed 1.0 tooltip over an older screenshot or video number.
Sources and verification limits
The stacking answer, + versus x rule, +100% to +140% Strength example, decimal damage note and Last Room Damage method come from two July 18 Steam discussions answered by the developer. Official Pathogenic news independently describes Mitochondria as power sources, documents connection-arrow improvements and shows Overcharge-focused community builds.
The screenshots on this page come from the official Pathogenic presskit and illustrate the editor, chain lines and high-output combat. They do not prove a specific calculation by themselves. Balance values can change, so every numeric claim is tied to the cited developer replies and should be rechecked against the current in-game tooltip after a patch.
Frequently asked questions
Does Overcharge stack in Pathogenic?
Yes. A developer confirmed that Overcharge stacks and that additional Overcharge or Overcharge Strength can make effects charge faster. The result still depends on valid connections, triggers and the receiving Organelle.
Do multiple Mitochondria double damage?
Not automatically. Multiple Mitochondria can add Overcharge, but the target effect determines what that charge changes. A second Mitochondrion may improve charge speed or reliability without producing a simple 2x final-damage result.
What does Overcharge Strength do?
It strengthens the relevant Overcharge effect. In the developer's example, a +100% damage effect combined with +40% Overcharge Strength becomes +140%.
What is the difference between + and x in Pathogenic?
Developer guidance says + bonuses are additive, while values marked x are multiplicative. Do not treat the two symbols as equivalent.
How can I check an Organelle's real damage?
Expand the Organelle details and hold Ctrl to view Last Room Damage. Compare it after changing only one part of the Overcharge setup.
Why is my connected Mitochondrion not working?
Check the arrow direction and the Mitochondrion's trigger. A part can be physically adjacent yet unconnected, or connected but inactive because its trigger has not occurred.